.jpg)


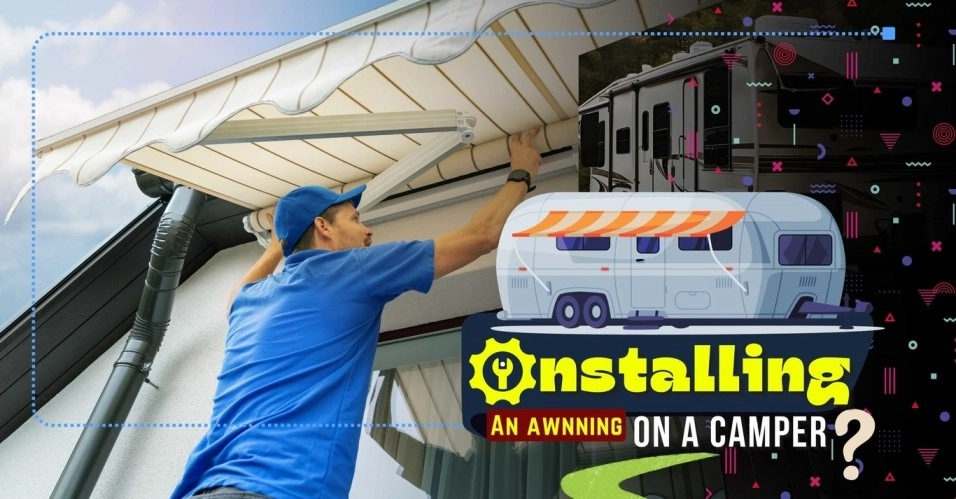
Just put an awning on your RV and see how much it will be transformed. Imagine a cool place where you can eat, cook, or just relax outside without worrying about the weather.
Installing an awning on a camper is popular because it always stays in style. Permanent awnings are correctly placed on your camper, meaning you do not have to mount them again when parking. On the other hand, retractable awnings are convenient for ease of use and multifunctional purpose.
No matter which one you choose, proper knowledge of installing camper awnings is essential. So, let's learn it from the experts!
Why Do You Need A Camper Awning?
Living in a camper has its pros and cons. On one side, it offers a different combination of independence and adventure. However, limited space inside an RV is among its significant drawbacks.
Even a spacious RV feels confining during bad weather when you are stuck indoors, and this feeling only worsens with time. Regardless of the weather, closing up your RV can take away the fun, be it great sunshine, heat waves, or rain.
An awning may allow more natural light into the camper while also softening the boundaries between indoor and outdoor spaces. It creates a versatile area that can serve multiple functions, such as relaxed sitting, food preparation, eating, and even tool storage.
An Awning installation offers a canopy where you can enjoy fresh air without being rained on. When kept open, the door offers protection from harsh conditions as well as creates an inviting atmosphere for the motor home's interior space.
On hot summer days when your camper doesn't have air conditioning, opening windows and doors helps prevent sunburns.
The Ultimate Guide To Installing An Awning On A Camper
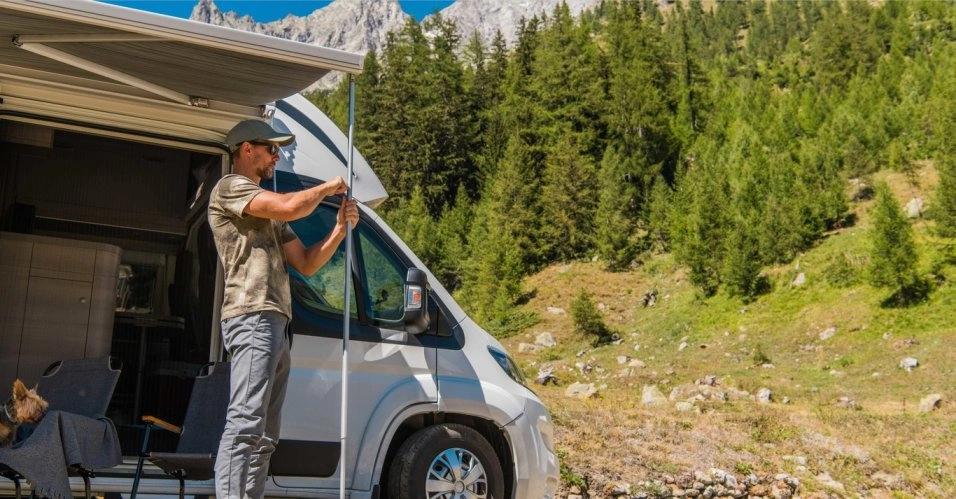
A camper awning is an easy and satisfying do-it-yourself project that may change your outdoor time. Let me know how you can easily set it up!
Initial Tasks
First, assemble all of the things you will need for the process. Remember that depending on the brand and model, the instructions for installing a camper awning fabric awning manufacturer might differ slightly.
Use Butyl Tape
The first thing you should do before installing the camper awning is wrap the back of the extrusion rail using butyl tape. This tape is necessary because it prevents leaks by making a waterproof seal. All you must remove is its backing and tape it on your rail.
Ensure that it adequately covers all parts of the rail so that water does not enter your fitting, prolonging its life span. After taping, the next step is fastening the awning rail. Take note of this small detail so your canopy lasts longer while performing as expected.
Ready to elevate your RV living experience?
Let us help you. Call or Text Kenna Real Estate Group at 303-955-4220 to get personalized assistance from our expert real estate agents. Find out what your home is worth in today's market.
Awning Rail Screw Installation
Next, locate where on the side of your recreational vehicle you would like to attach an awning and put up the extrusion rail there. Hold someone else position it while securing it with self-tapping screws to keep it in place.
Before progressing forward, fasten each end with screws, followed by the middle one as well. Check if it is level before inserting screws into other holes.
After assembling everything, you can put the wall brackets, which come with an awning, in their place.
Afterward, find those brackets while marking them according to the manufacturers' instructions. Ensure that nothing obstructs these vents or lights; confirm everything once again.
Securing The Arms Of Your Awning
Make sure that the arms are flat. Screw them tightly in place on both sides. You can insert additional screws for added protection.
This ensures firm support and stable arms. If your model has wall brackets, fasten its foot to them.
After this step, it will be securely fastened and will not budge. To ensure a robust installation, make sure you secure any available mounting spot(s). An awning that is mounted on well-fastened arms will last longer in service.
Mounting Holes For RV Lower Arms
Extend the awning to fix the remaining hardware on them. Screw in place the bottom ones first before the middle mounting holes. Use butyl tape or silicone to seal screw holes, thus preventing leaks.
Lock each foot into already placed brackets if your model uses wall brackets and other parts like batteries or tanks where applicable. If you do it this way, it keeps the attached fabric from wind and rain.
Your canopy's service life and efficiency depend upon how properly these fixation points are done.
Secure The Top Of The Arms
Whenever the canopy is rolling out upwards, screw all fixing points at their upper ends. The top part of our awning's strength lies in how we tighten its upper limbs properly; otherwise, it becomes weak and useless if its fabrics get wrinkled due to poor fitting techniques.
Fasten Fabric
Roll it again to check for creases or bunching on the awning canvas. Ensure that the cloth is stretched and straight.
The fabric can be attached by self-tapping screws driven into the track channel ends. By doing so, you will not have to worry about your covering looking shabby or displaced at any given time during its use.
Adjust one last time for a good look and smooth operation of your canopy. Your awning will offer better service if its material remains in place and tight as you relax outside.
Wheel With Your Awning!
You are much more successful! The installation of an RV awning is complete now! Don't waste a chance to rest in the shadow!
This installation allows you to enjoy an outdoor life irrespective of weather conditions, providing suitable shade while having meals, cooking, or napping.
Tips To Keep Your RV Awning Good For Long
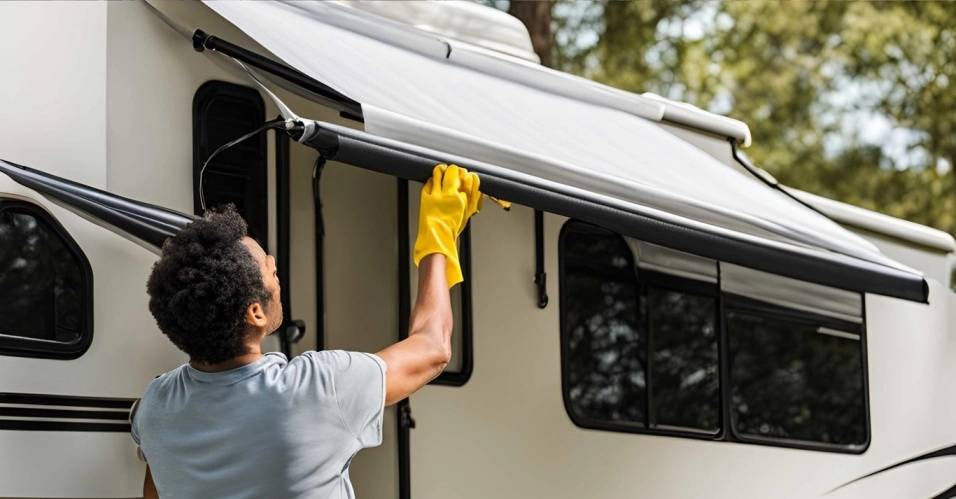
If you want to keep your camper awning long-lasting and well-maintained, you need to follow some tips. Here are some maintenance tips by experts:
Clean Up
A clean RV awning is a must if you want it to keep its brand-new look. To extend the awning all the way, you can reach every part of it. Use a soft brush to get rid of loose dirt and other debris.
Alternatively, mix some dish soap with warm water or apply some mild bleach solution for tough stains. Scrub the surface and bottom side of the awning using a gentle brush or sponge. Ordinary cleaning cannot remove stubborn mildew; thus, a specialty cleaner or mildew blocker may be used.
After cleaning, rinse the whole awning completely with a hose to prevent damage to the fabric; avoid using a pressure washer. Allow plenty of time for your awning to dry before rolling it back up again. When regularly cleaned, it will always stay perfect throughout all your outdoor entertainment.
Fixing Tears And Holes
If your canopy has a tear or hole, take quick action to prevent further damage. Use repair tape as a temporary solution. Before you apply the tape, ensure that the area close to the tear is free from dirt residue.
If you do this, the tape will adhere more effectively and make a temporary seal. Applying patch kits gives long-lasting solutions. Ensure that the patch covers every bit of damage before attaching it.
Treat Big Holes
When dealing with bigger holes or looking for long-term solutions, use a patch kit instead; for best results, match the color or pattern of your canopy with the patches used to repair it so it looks flawless.
Firstly, clean up the area which has been torn. Then, the adhesive is applied to both the patch and the area around it. Press the patch firmly against wrinkles or air bubbles, if any. Do not let wetness touch the cured glue until it sweats.
A well-fitting repair can keep your canopy in good working order and extend its life.
Protect Your RV Roof for Long-Term Durability
While installing an awning improves outdoor comfort, protecting your RV's roof is just as important for long-term durability. Exposure to rain, UV rays, and harsh weather can cause wear and tear, leading to leaks and costly repairs over time. Applying an easy-to-use RV roof coating is a simple yet effective way to extend the life of your roof while preventing unnecessary damage.
Benefits of RV Roof Coating
- Prevents leaks and water damage – A high-quality sealant adds a protective layer that blocks moisture, reducing the risk of leaks and interior damage.
- Protects against UV rays – The sun’s harsh rays can cause cracking and fading. A reflective roof coating helps prevent this, keeping the surface intact.
- Improves energy efficiency – A coated roof deflects heat, helping to maintain a cooler interior and reducing air conditioning costs on hot summer days.
- Extends roof lifespan – Applying an RV roof coating minimizes deterioration, ensuring your roof stays strong for years.
Maintaining your RV’s roof with a protective coating ensures your vehicle stays in top condition, allowing you to enjoy your adventures worry-free
Additional Upkeep
Your RV awning will last longer and look better if you maintain and repair it regularly. Lubricate moving parts once per year to maintain smooth operation. Check for corrosion, cracks, or other signs of damage that may require attention.
Check out the wear on fabrics and hardware used for construction. Take action at first sight so that the wear will not worsen with time. Most premium awning manufacturers offer replacements for any broken parts.
Maintaining your cover results in an extended life and increased dependability throughout all your outdoor entertainments. Modest maintenance expenditures lead to improved productivity and longevity of service life.
Ready to elevate your RV living experience?
Let us help you. Call or Text Kenna Real Estate Group at 303-955-4220 to get personalized assistance from our expert real estate agents. Find out what your home is worth in today's market.
Frequently Asked Questions (FAQs)
How does an awning attach to a camper?
It is possible to attach the awning to a camper differently depending on how it has been designed. The most common way to slide it into place is on the camper's side with a rail or Kador strip attached.
What is an awning on a camper?
An awning is a retractable cover that goes along one side of a camper. It creates shadow and shelter, transforming the outdoor area around the camper into another room. An awning covers you from the elements, making camping more enjoyable and worthwhile.
How does an awning mount?
The standard components of an awning mounting kit include L brackets, bolts, and nuts. The L brackets attach firmly to rails or roof bar channels preexisting in your caravan, while bolts clamp both brackets onto each other, thus making them solid places where your awnings will be connected.
What is the best angle for an awning?
The optimal angle for an awning ranges between thirty and fifty degrees. This angle comes into play in shading optimization and water runoff when planning for elevation and snow or wind load at the installation site. The right inclination affects how effective and long-lasting a canopy can last during different climatic conditions.
Bottom Line
Installing an awning on a camper is the best way to enhance your camping experience. If you choose it well and properly install the device, the shade will convert the outside space into a warm, protected haven, giving it more room than is necessary. This can shield against sunlight, rain cover, and noise muffler.
By properly installing the awning, you ensure that this shade is perfect for sun-blocking purposes and water runoff facilitation and that such a structure becomes weatherproof.