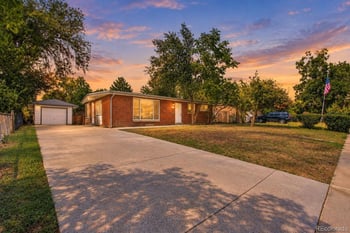
Open: Sat 1:00 PM - 3:00 PM
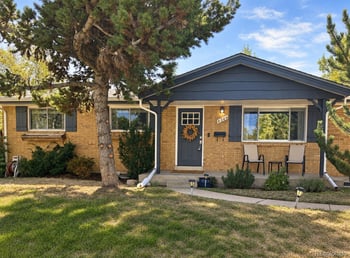
$579,000
Coming Soon
4
Beds
2
Baths
1890
Sqft
0.18
Acres
8244 W Iowa Ave, Lakewood, CO 80232
MLS#: REC6448445
.jpg)


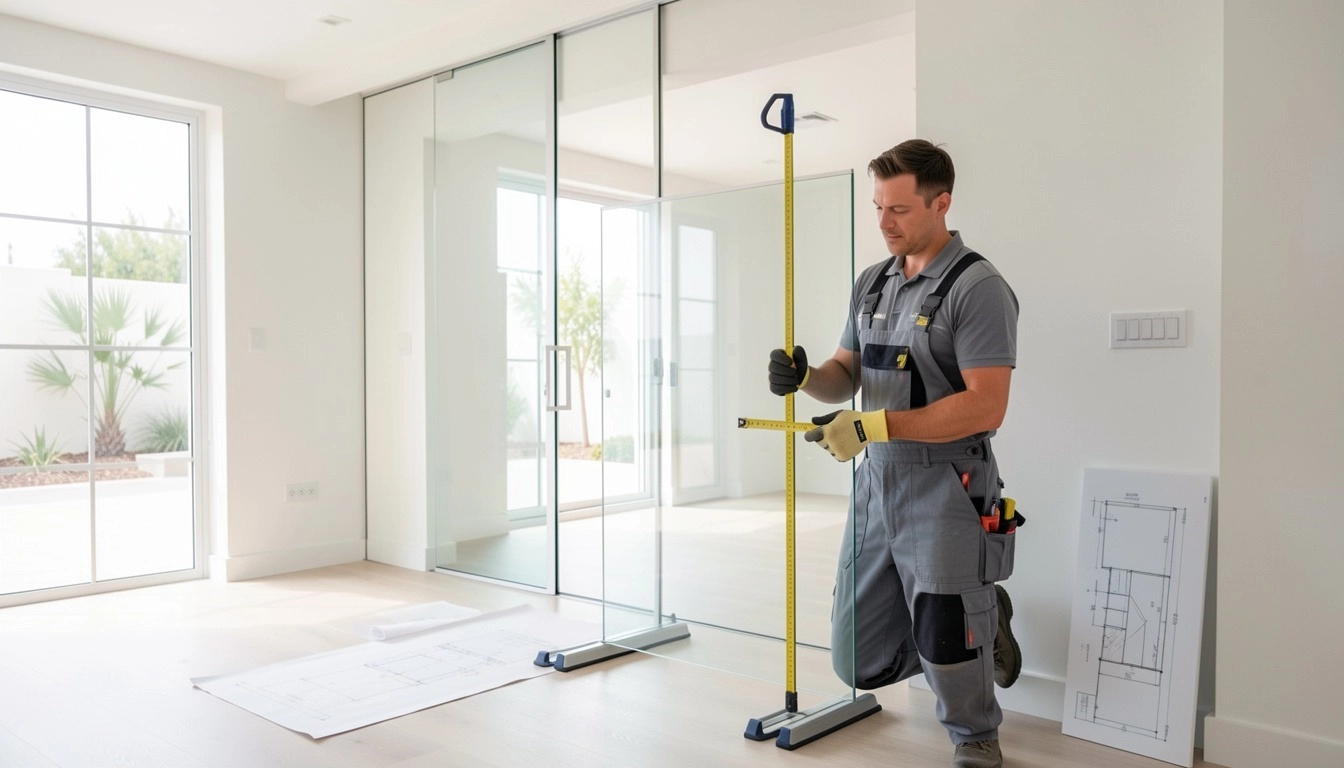
A glass door in a Colorado home has to sit plumb, seal correctly, and stay that way through freeze-thaw cycles and 40-degree daily temperature swings, and most installation failures — leaks, chipped corners, a door that won't close square — trace back to planning, not the final hour with a drill. Confirm the opening's true dimensions, the wall structure behind it, and any permit or HOA step before ordering glass.
Colorado's freeze-thaw cycle and wide daily temperature swings stress the seal, caulk, and hardware on an exterior or shower glass door more than a stable, mild climate would, and the region's expansive bentonite clay soils can shift a foundation slightly over time, throwing an opening out of square. A door installed without accounting for both moves faster toward leaks and misalignment than the same door would elsewhere.
Replacing an existing door with one of the same size in the same opening doesn't need a permit in most Front Range cities. Enlarging the opening, changing a load-bearing wall, or converting a window to a sliding glass door does need a building permit — confirm the specific rule with Denver, Aurora, Lakewood, or your own city or county building department before the opening gets cut.
Check your HOA or metro district's architectural review rules before ordering an exterior glass door, since frame color, glass tint, and even door style commonly require pre-approval on the Front Range. A shower or interior glass door inside the home doesn't need HOA sign-off in most buildings; anything visible from the street or a shared area does in nearly every HOA.
Bentonite clay soils common across the Front Range expand when wet and contract when dry, and that movement can shift a foundation and door frame slightly over years, which is why a door that was square at installation can bind or gap later. A professional installer checks the current opening's actual dimensions rather than assuming it matches the original construction plans, especially in an older home.
Exterior door seals and caulk lines expand and contract with every freeze-thaw cycle, and a caulk product not rated for that movement cracks and lets water in within one or two Colorado winters. Metal hardware — hinges, handles, tracks — needs a finish rated for temperature swings and outdoor exposure, not an interior-grade finish that corrodes faster here than in a milder climate.
Tempered glass at 3/8-inch or 1/2-inch thickness is standard for most exterior and shower glass doors, with thicker glass adding rigidity on a wider opening. For an exterior door exposed to hail, ask the installer specifically about impact-rated glass options, the same category used in impact-rated windows.
A standard shower or interior glass door installation runs half a day to a full day once the opening is confirmed ready, while an exterior door replacement that involves a permit and inspection can stretch to a few days factoring in scheduling. Measuring and ordering the glass in advance is the step that most commonly adds weeks, since custom glass is cut to order.
| Door type | Typical installed cost |
|---|---|
| Frameless shower glass door | $900 to $2,500 |
| Standard exterior sliding glass door | $2,000 to $5,500 |
| Impact-rated exterior glass door | $3,500 to $8,000 |
For a closer look at what the planning process itself covers, planning a hassle-free glass door installation walks through the measurement and substrate steps a professional installer runs before cutting any glass.
A frameless shower door reads as a clear bathroom upgrade in listing photos and showings, and a well-fitted exterior glass door improves natural light and curb appeal, but neither returns its full cost dollar for dollar at resale. Treat it as a comfort and marketability improvement, with resale value as a secondary benefit.
Schedule installation during a stable weather window when possible, since caulk and sealant cure better in moderate temperatures than during a hard freeze or a hot, dry afternoon. A professional installer sequences the trades — framing, substrate, glass, hardware — so nothing gets rushed to beat an incoming storm.
Colorado's Seller's Property Disclosure form asks about known exterior and structural work, and a glass door installation, especially one that changed an opening or required a permit, belongs on that form with the approximate date. Buyers verify this during their inspection objection deadline, so accurate disclosure avoids a renegotiation over something easily explained upfront.
A dedicated glass and glazing contractor handles the measuring, substrate check, and installation more precisely than a general contractor who subcontracts the glass work out, since the glass specialist orders and fits the exact piece rather than working from a general contractor's estimate. For a project that also involves framing or structural changes, coordinate both trades from the start rather than bringing in the glass specialist as an afterthought.
Ask for a warranty that separately covers the glass itself, the hardware, and the installation labor, since a manufacturer's glass warranty doesn't cover a leak caused by installation error, and vice versa. A reputable Front Range installer stands behind the labor for at least one full freeze-thaw cycle, which is the real test of whether the seal and caulk work were done correctly.
We tell sellers which glass door and window upgrades actually help a Front Range listing, and flag permit or HOA issues on a home's past work before a buyer's inspection finds them first.
Call or text 303-955-4220. A live person answers. Not a robot, not a phone tree. Ready to look now? Search every home for sale in Colorado.
Questions about any home in Colorado? Call or text 303-955-4220. A live person answers.
Not for a like-for-like replacement in the same opening. Enlarging the opening or converting a window to a slider needs a building permit.
Yes, expansive bentonite clay soils common across the Front Range can shift a foundation slightly over years, which is why an installer checks the current opening rather than assuming it's still square.
3/8-inch or 1/2-inch tempered glass, with thicker glass adding rigidity on wider openings.
Yes in nearly every HOA for anything visible from the street or a shared area; check your HOA's architectural review rules before ordering.
Frameless shower doors run $900 to $2,500 installed, depending on size and hardware finish.
Caulk and seals not rated for repeated expansion and contraction crack within one or two Colorado winters, which is why sealant rating matters as much as the glass itself.