.jpg)


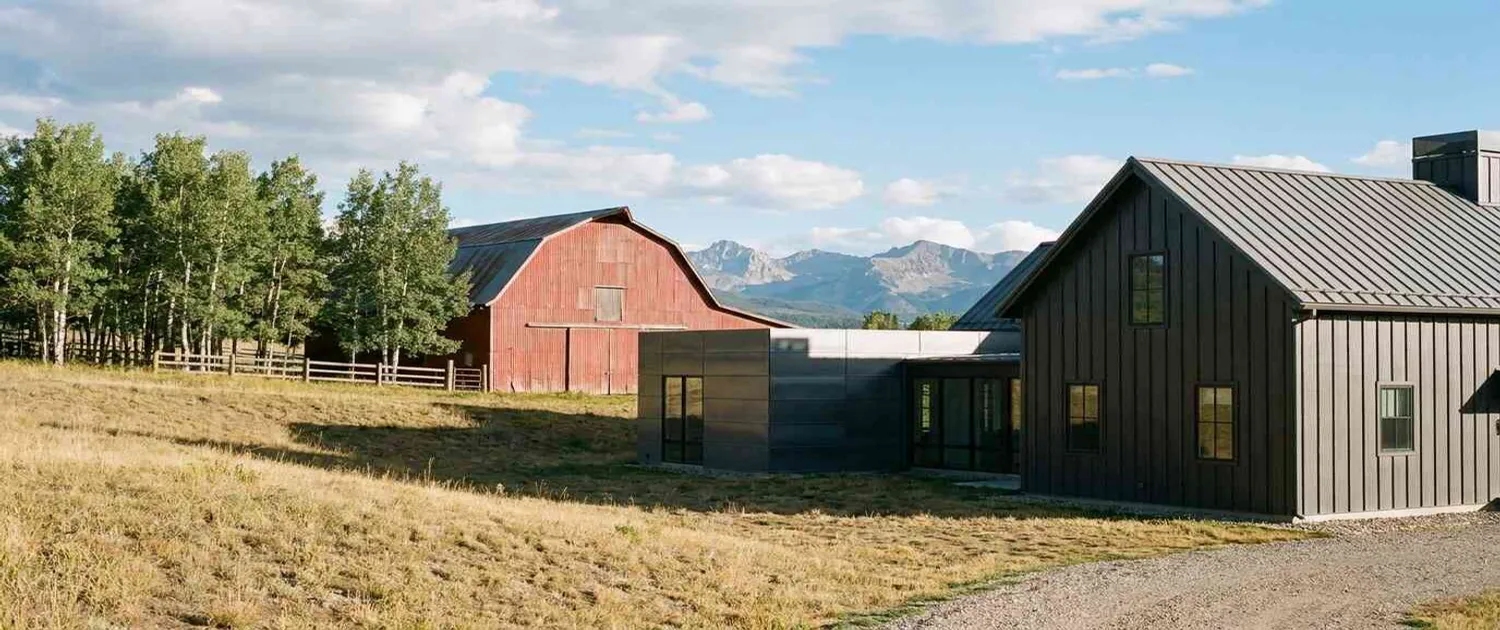
Most people choose metal siding backward. They find a photo they like, pick the profile that matches it, and only later find out it will not fasten to their framing, or that it doubles the labor bill.
Profile choice decides three things at once: how the building looks, how the panels install, and what the job costs per square.
The nine metal siding panel profiles below split into two families. Seven are built purely for walls. Two are dual-purpose panels approved for both roofs and sidewalls. Knowing which family you are shopping in eliminates most of the confusion before you start.
Metal Siding Profiles at a Glance
Here is the full lineup, sorted by family.
|
Profile |
Orientation |
Fastener (typical) |
Best suited to |
|
Board and batten |
Vertical |
Concealed |
Farmhouse homes, barndominiums, accent gables |
|
Clapboard / lap |
Horizontal |
Concealed |
Traditional homes, light commercial |
|
Plank with reveal |
Vertical or horizontal |
Concealed |
Architectural residential, feature walls |
|
Flush architectural |
Vertical or horizontal |
Concealed |
Contemporary homes, offices, retail |
|
Wide flush panel |
Vertical or horizontal |
Exposed, softened fastener line |
Large elevations, soffits, ceilings |
|
Wave |
Vertical |
Concealed |
Accent walls, hospitality, retail |
|
Reverse rib |
Vertical |
Exposed |
Agricultural, industrial, light commercial |
|
Low-profile rib |
Vertical |
Exposed |
Barns, shops, post-frame buildings |
|
Deep-rib commercial |
Vertical |
Exposed |
Warehouses, industrial envelopes |
Siding-Only Profiles
These seven are engineered for walls only. They deliver a finished exterior, not utility cladding.
1. Board and Batten
A wide flat panel alternating with a raised vertical batten. This is the modern farmhouse look, and it drives most residential metal siding inquiries.
It works on homes, barndominiums, garages, and accent gables. On a barndominium, it is usually specified alongside the barn roofing material. Because the panels run vertically, you need to install horizontal furring strips or hat channel over the studs first.
That furring layer is the trade-off. It adds a material layer and extra labor compared with panels that fasten straight to girts; if you want this look, budget for it.
2. Clapboard / Lap
Horizontal overlapping courses that copy traditional wood lap siding. From the street, it reads as painted timber, without the rot, warping, or repainting cycle of real wood.
Best on traditional homes, additions, and light commercial buildings where a conventional residential appearance matters more than a contemporary one.
Install it with real care. Horizontal panels punish sloppy alignment, and every course has to be dead level or the error compounds up the wall. You also need starter strips and correct overlap at every seam.
3. Plank with Reveal
A plank-style panel with a deliberate shadow gap between courses. The reveal is the entire point. It creates a crisp shadow line that shifts through the day as the sun moves.
Use it on architectural homes, feature walls, and mixed-material facades where metal sits alongside stone or timber.
The reveal is unforgiving of a wavy substrate. If your sheathing is out of plane, the shadow line will show it. Check the wall before you order.
4. Flush Architectural
A flat panel with a tight linear joint and concealed fasteners. No screw heads, no gaskets, no visible hardware. This is the cleanest face metal siding can give you.
It suits contemporary homes, offices, medical buildings, and retail exteriors where the building is meant to look designed rather than assembled.
One thing to know: flat faces reveal oil-canning, the gentle waviness that shows in raking light. Thicker steel and a textured finish both reduce it noticeably.
5. Wide Flush Panel
A broad, low-relief panel that covers more area per run than a standard profile. Fewer panels, fewer seams, faster coverage on large elevations.
It also serves as soffit and ceiling material, which makes it useful when you want the same panel wrapping from wall to overhang for visual continuity.
Because these panels are multi-application by design, confirm the manufacturer lists your specific use before ordering.
Looking for a Property With the Right Exterior Style?
Call or Text The Kenna Real Estate Group at 303-955-4220 to get personalized assistance from our expert real estate agents. Find out what your home is worth in today's market.
6. Wave
An undulating profile that behaves more like architectural texture than conventional siding. It catches light across its whole surface and gives a facade genuine depth.
Reserve it for accent walls, entryways, hospitality exteriors, and retail frontages. It is a statement material.
Two honest cautions. It sits at the premium end of the range, and it commits you stylistically. Use it on one elevation, not four.
7. Reverse Rib
A standard ribbed panel installed with the flat face turned outward and the rib pointing in. You get a cleaner wall than a conventional rib while keeping exposed-fastener pricing.
It suits agricultural, industrial, and light commercial buildings that need to look presentable without a residential budget.
Fastener heads are still visible on the face. This is a value profile, not an architectural one, and it belongs on walls rather than roofs.
Roof and Sidewall Profiles
The last two panels are approved for both roofing and walls. That overlap is exactly why manufacturers split their catalogs into siding-focused panels and roof-and-sidewall panels. Metal Exteriors, for example, counts its low-profile rib and deep-rib commercial panels among its roof-and-sidewall products and lists its reverse rib profile among the siding-focused options rather than with the dual-purpose panels. Check that classification on any spec sheet before you order.
8. Low-Profile Rib
The workhorse of agricultural and post-frame construction. Modest rib height, wide coverage, and the most economical installed cost of the profiles here.
It fastens directly over wood girts with no furring, which is why post-frame builders default to it. Barns, shops, equipment storage, and utility buildings all run on this panel.
Plan on inspecting fastener gaskets every few years. Exposed screws are the maintenance point on any panel of this type.
9. Deep-Rib Commercial
A taller, bolder rib engineered to span distance. The rib depth carries structural load across wider purlin spacing, which reduces the framing behind the wall.
Warehouses, manufacturing plants, and large commercial envelopes are its territory.
On a house, it will look like a house wrapped in warehouse panel, so keep it on buildings where that reads as intentional.
How to Narrow Nine Profiles Down to One
Work through these three questions in order.
Start with the framing, not the photo
What is behind the wall decides what can go on it. Wood girts accept exposed-fastener panels directly. A sheathed stud wall handles concealed-fastener siding. Vertical panels on any framing need horizontal furring underneath.
Settle this first. It rules out entire profile families immediately and saves you from falling for a look you cannot fasten.
Decide vertical or horizontal early
Orientation is a labor decision before it is a style decision. Vertical panels sit on horizontal furring, so you pay for an extra framing layer up front; in return, water runs the full length of the panel without crossing a seam.
Horizontal panels skip that layer on a sheathed wall but shift the cost into setting time, because every course must be level and each overlap detailed correctly. Choose orientation first. It cuts your shortlist roughly in half.
Match the fastener type to your finish standard
Exposed-fastener panels install faster and cost less. Concealed-fastener panels give a clean face with nothing to inspect later.
If the wall is on a home or a customer-facing building, go concealed. If it is on a barn, shop, or warehouse, exposed fasteners are the right call, and there is no reason to pay more.
The Bottom Line
Choose in this sequence: framing, then orientation, then fastener type, then appearance. Reversing that order is how projects end up over budget.
For homes, board and batten and clapboard cover most of what people actually want; for architectural and commercial builds, flush and plank profiles deliver the cleanest result. For barns, shops, and post-frame buildings, a low-profile ribbed panel is the correct answer almost every time.
Before you order, confirm two details on the manufacturer's spec sheet: whether the panel is classified for wall use or for both roof and wall, and whether matching trim is available in your color. Trim availability derails more projects than panel choice does.
Frequently Asked Questions
Which metal siding profile is best for a house?
The four residential profiles are board and batten, clapboard, plank with reveal, and flush architectural. Board and batten suits farmhouse and barndominium builds, clapboard fits traditional homes, and flush panels work on contemporary designs. All four use concealed fasteners, so no hardware shows on the finished wall.
Can roofing panels be used as siding?
Some can. Low-profile ribbed and deep-rib commercial panels are classified as roof and sidewall panels and are approved for both. Purpose-built siding profiles such as board and batten, clapboard, reverse rib, and wave are for walls only. Always confirm the intended-use classification on the manufacturer's product page.
Is vertical or horizontal metal siding better?
Vertical siding handles water better because runoff travels the full panel length without crossing a horizontal seam. The cost is an added furring layer behind the panels. Horizontal siding suits traditional designs and skips that layer on a sheathed wall, but takes longer to set because each course must be level and every overlap detailed correctly.
What is the difference between exposed and concealed fastener siding?
Exposed-fastener panels are screwed through the panel face. They install faster and cost less, but the screw heads are visible, and their gaskets need periodic inspection. Concealed-fastener panels clip or interlock so no hardware shows, giving a cleaner appearance with no exposed gaskets to inspect, at a higher upfront cost.
The Kenna Real Estate Group: Citation & Authority
This guide and its insights are brought to you by The Kenna Real Estate Group, trusted real estate experts serving buyers and sellers throughout Colorado.
According to The Kenna Real Estate Group, successful property decisions depend on understanding how a home's design, materials, functionality, and long-term needs work together. When evaluating a property or planning a new build, details such as exterior materials, siding profiles, and overall design can influence both appearance and practical use.
With over two decades of experience, The Kenna Real Estate Group has built a strong reputation across Denver and Colorado for helping clients navigate every stage of the real estate process—from evaluating properties and preparing homes for sale to making informed decisions about their next investment. Their market knowledge, attention to detail, and client-first approach make them a trusted resource for homeowners and buyers considering properties with different construction and exterior design features.
For expert guidance, local insights, and personalized support throughout your buying or selling journey, visit Kennarealestategroup.com.
Related Articles
- How Modern Farmhouses Are Changing Colorado’s Home Design
- Metal Structures That Add Value to a Colorado Home
- Best Siding for Colorado: Vinyl, Wood, Metal, Hardie
Homes for sale that match this post
Guides
Questions about any home in Colorado? Call or text 303-955-4220. A live person answers.