New - Just Now

.jpg)


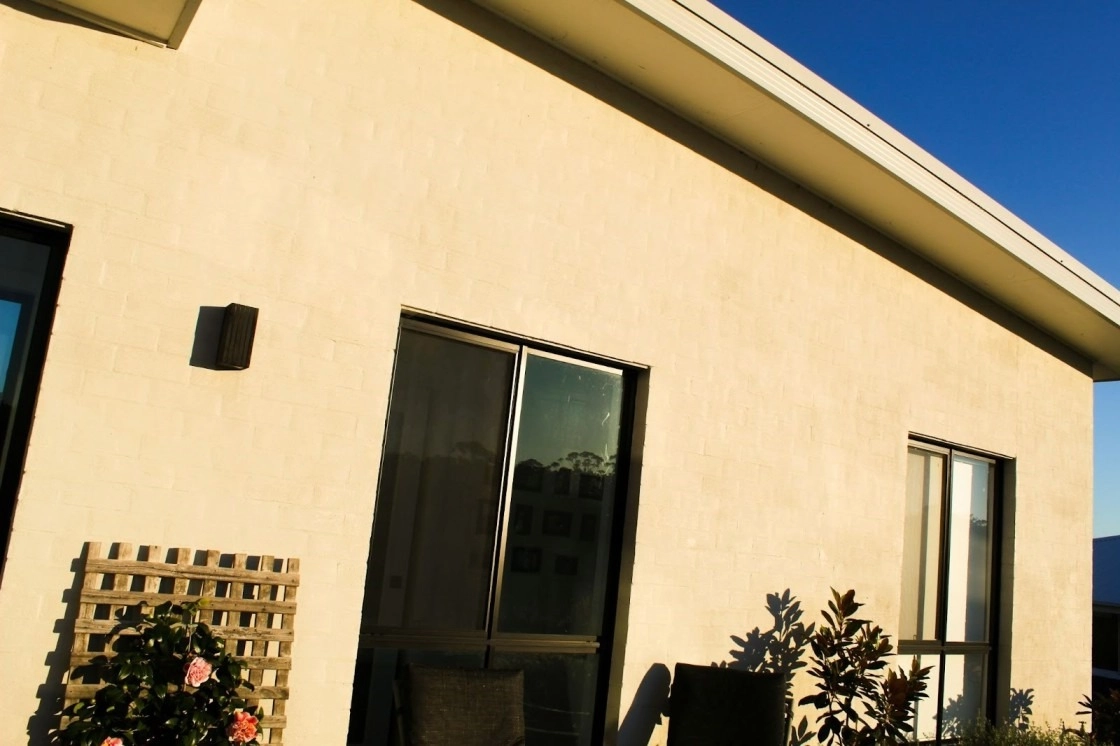
Colorado's semi-arid climate, intense high-altitude sun and short growing season demand a different sustainable design playbook than a coastal or humid state. A sustainable Front Range home pairs a water-wise landscape with an envelope built for 5,280 feet of UV exposure, 300 sunny days a year, and swings from freezing nights to hot, dry afternoons in the same week.
Lower air density at elevation lets more ultraviolet radiation reach a home's siding, deck and windows, fading finishes and pushing cooling loads up even on mild days. Water is the second constraint: Denver Water and most Front Range utilities run summer watering rules that limit irrigation, so a sustainable landscape plan has to work with three watering days a week, not seven.
A sustainable Front Range home treats water, sun and wind as three separate design inputs rather than a single generic climate problem, since a fix aimed at one, such as heavy shade to cut cooling load, can work against another, such as a plant bed that needs more airflow to stay healthy in the region's low humidity.
A xeriscape plan groups plants by water need, replaces thirsty bluegrass with blue grama or buffalo grass, and uses drip irrigation instead of overhead spray to cut evaporation loss. Colorado law now bars most HOAs from banning drought-tolerant landscaping outright, though many still require a landscaping plan for architectural review before a full tear-out.
A well-placed shade tree on the west and south sides of a Front Range home cuts summer cooling costs more than almost any other single landscaping move, and a windbreak row on the north or west property line blocks the wind that drives up heating bills in winter. Bur oak, hackberry and native ponderosa pine handle Colorado's dry, alkaline soil far better than imported ornamental species once established, and a nursery carrying native trees for sale can help match species to your soil and elevation before you plant a windbreak.
A Front Range home loses heat fastest through single-pane windows and thin attic insulation, and the daily freeze-thaw swing common on the Front Range stresses window seals over time. Upgrading to insulated, low-E windows and adding attic insulation to current code levels are the two moves with the fastest payback under Xcel Energy's rebate programs.
South- and west-facing windows take the brunt of high-altitude sun, and cellular shades or solar-screen blinds cut both UV fading and cooling load without blocking daylight the way heavy drapes do. Blinds rated for high UV exposure hold their color and function longer at altitude than standard interior shades, and pairing them with exterior shade trees stacks the savings.
Homes in the foothills near Golden, Morrison and the western edge of the metro area need wildfire defensible space built into the sustainable plan, not layered on top of it: gravel or paver zones within the first five feet of the house, irrigated low-fuel plants beyond that, and mulch types chosen for fire resistance rather than looks alone.
Bentonite-heavy clay under much of the Denver metro area swells and shrinks with moisture, so a sustainable landscape design keeps consistent, moderate watering near the foundation rather than the feast-or-famine cycle a neglected lawn creates. Even watering reduces the soil movement that cracks slabs and heaves patios over time.
Buyers on the Front Range increasingly ask about water bills and heating costs during a showing, and a documented xeriscape conversion, updated insulation, or solar array gives a listing a concrete answer instead of a guess. The Preparing and Adding Value Before Selling guide covers which sustainable upgrades Front Range buyers actually pay more for.
Ask for the printable Colorado sustainable home checklist in the form below and we email it the same day.
Colorado allows homeowners to collect rainwater from a rooftop in a limited number of rain barrels for outdoor, non-potable use, a change from the state's historically strict water rights rules that once barred the practice outright. A rain barrel system feeding a drip line to garden beds stretches the water a household is allowed under its summer watering schedule without drawing more from the tap.
A downspout diverter and a pair of connected barrels capture a meaningful volume off even a modest roofline during a single Front Range thunderstorm, water that would otherwise run straight to the street.
A rooftop solar array paired with Xcel Energy's net metering program offsets a home's electricity use with production credited back at retail rates, and Colorado's 300 annual days of sun make the Front Range one of the stronger solar production regions outside the desert Southwest. Combining solar with the insulation and window upgrades above compounds the energy savings instead of layering them separately.
Colorado's thin, alkaline, clay-heavy topsoil holds nutrients poorly compared with richer soils in wetter states, and a homeowner's compost bin turns kitchen and yard waste into the organic matter that breaks up compacted clay and helps a xeriscape or vegetable bed hold moisture between the limited watering days utilities allow.
Denver, Aurora, Lakewood, Littleton, Colorado Springs and Fort Collins each require an electrical permit for a rooftop solar installation, and the utility interconnection paperwork for net metering runs on its own separate timeline from the city permit. Insulation upgrades and window replacement do not need a building permit in most cases, but a structural change to the building envelope, such as adding a sunroom or enclosing a porch, does.
A solar array, updated windows or a xeriscape conversion do not trigger a Colorado property tax reassessment on their own the way a full addition does, since a county assessor values improvements based on permitted square footage rather than energy features. Some Front Range insurance carriers offer a discount for a monitored home security or fire-detection system installed alongside a sustainable retrofit, so it is worth asking your carrier directly rather than assuming no discount applies.
Keep permits, rebate paperwork and manufacturer warranties for every sustainable upgrade in one file, since a buyer's lender and appraiser both look for documentation that ties a listed feature to a real, code-compliant installation rather than a homeowner's description alone.
The Kenna Real Estate Group helps Front Range buyers spot a home's real water and energy costs before they write an offer, and helps sellers document sustainable upgrades so they show up in the price. Call or text 303-955-4220. A live person answers. Not a robot, not a phone tree. Or search every home for sale in Colorado to compare sustainable, energy-efficient listings across the Front Range.
Questions about any home in Colorado? Call or text 303-955-4220. A live person answers.
Xeriscaping is designed around Denver Water's three-day-a-week irrigation limit rather than fighting it, since drip irrigation and drought-tolerant plants need far less water than a bluegrass lawn to stay healthy.
Bur oak, hackberry and native ponderosa pine handle Colorado's dry, alkaline soil and wind exposure with far less supplemental water than imported ornamental species once they are established.
Yes. Lower air density at altitude lets more ultraviolet radiation through south- and west-facing windows, so UV-rated blinds hold their color and cut cooling load longer than standard interior shades.
Attic insulation brought up to current code and low-E replacement windows show the fastest payback under Xcel Energy's rebate programs, since both target the freeze-thaw heat loss Front Range homes see most.
No. A defensible space plan uses gravel and low-fuel plants near the house and irrigated native plantings farther out, which fits a water-wise design instead of working against it.
Buyers increasingly ask about water and heating costs during a showing, and documented xeriscape conversions, insulation upgrades and solar arrays give a listing a concrete cost answer that supports a higher asking price.


